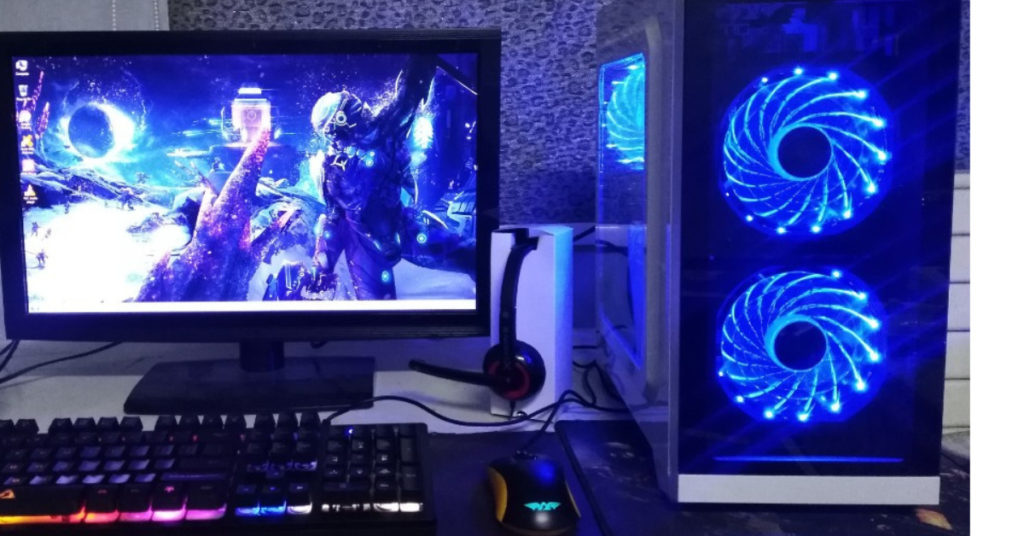
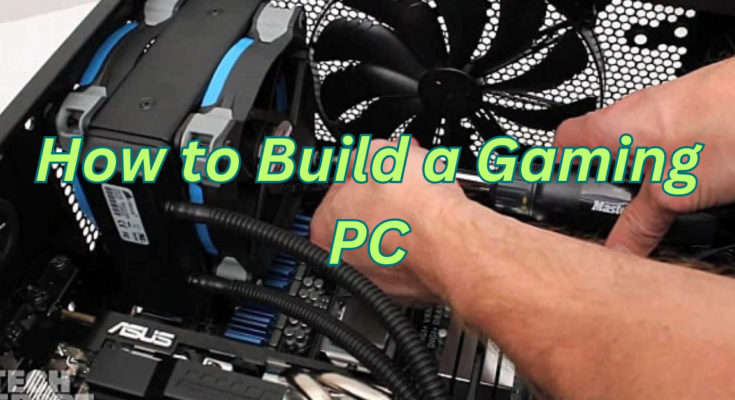
Building a gaming PC can be an incredibly satisfying experience. Not only do you get to customize your build to suit your needs, but you also get to create a machine that can run games at high settings and framerates. However, building a gaming PC can seem daunting if you’re new to the process. In this article, we’ll go through the steps you need to follow to build a gaming PC.

1. Determine your budget
The first step in building a gaming PC is to determine your budget. This will dictate the components you can afford, and help you make decisions about where to allocate your money. A gaming PC can range in price from a few hundred dollars to several thousand dollars, depending on your needs.
2. Choose your components
Once you have a budget in mind, it’s time to start selecting components. The key components you’ll need for a gaming PC include:
- Processor (CPU)
- Graphics card (GPU)
- Memory (RAM)
- Storage (HDD or SSD)
- Motherboard
- Power supply unit (PSU)
- Case
- Cooling system (optional)
When choosing your components, make sure they are all compatible with each other. Check the specifications for each component to ensure they are compatible with your motherboard and other components.
3. Assemble your PC
Now it’s time to start assembling your PC. Follow these steps:
- Install the CPU onto the motherboard. Make sure you align the notches correctly and don’t apply too much pressure.
- Install the RAM onto the motherboard. Push the tabs down until the RAM clicks into place.
- Install the motherboard into the case. Use the screws provided to secure it in place.
- Install the power supply unit into the case. Make sure it’s secured with screws and plugged in correctly.
- Install the storage device(s) into the case. If you’re using an SSD, you’ll need to mount it in a specific location.
- Install the GPU into the motherboard. Make sure it’s securely fastened with screws or latches.
- Connect all the cables to the motherboard, GPU, and PSU. Make sure you connect the cables in the correct places.
- Install any additional cooling systems you may have. This can include fans, liquid cooling, or heatsinks.
4. Install your operating system and drivers
Once your PC is assembled, it’s time to install your operating system and drivers. You can either purchase a copy of Windows or install a free operating system like Linux. Make sure you have all the drivers you need for your components, and install them before you start gaming.
5. Test your PC
Finally, it’s time to test your PC. Turn it on and check to make sure all the components are working correctly. Run benchmarking tests to make sure your PC can handle the games you want to play.
In conclusion, building a gaming PC can be a challenging but rewarding experience. With the right components and a bit of patience, you can create a machine that will provide you with years of gaming enjoyment.


